Kids Christmas Cookie Decorating Classes
Tips on Planning and Organizing Cookie Decorating Classes
For the past 3 summers, I've been teaching kids cookie decorating at kids camp through the church I attend. Preparing for teaching the classes takes some organization and planning and I've learned a few tips over the years which have helped things run smoothly, so I've put together a post on the things I've determined help most. If you have any ideas or tips, I'd love to hear them in the comment section below!
Picking Cookie Cutter Shapes or Designs
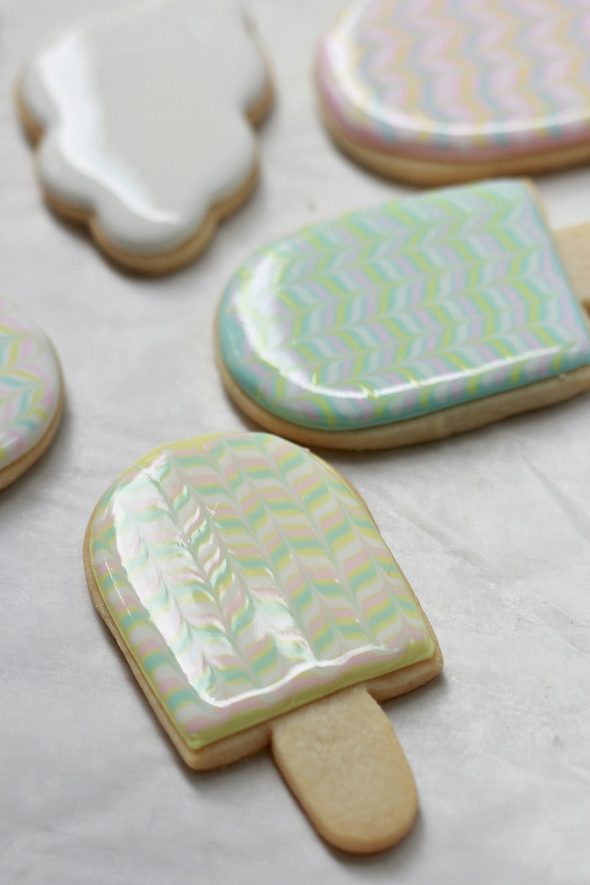
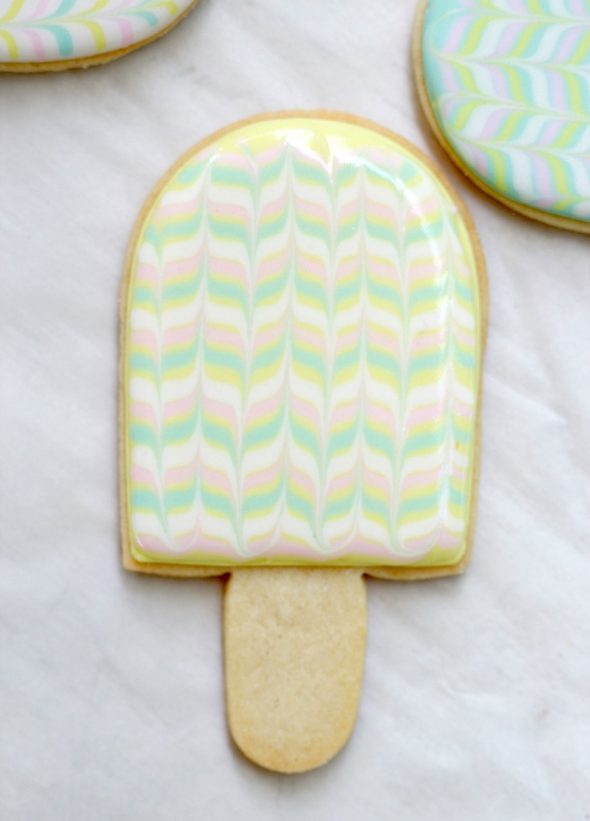
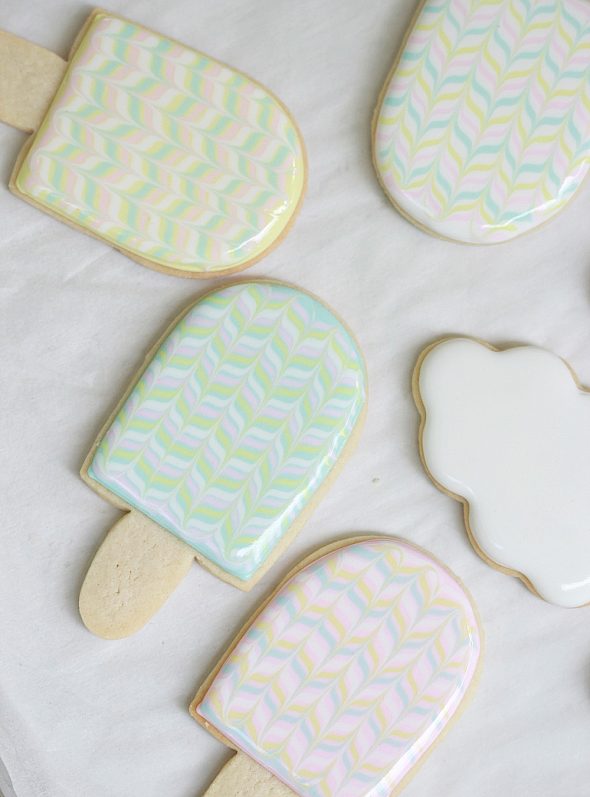
Considering the designs is the first place I start. Because the age groups I've worked with are from 5-7 and 8-11 I try to pick cookie shapes that have some versatility – Shapes that can be simply decorated (almost all), and shapes that can incorporate technique options like marbling. Wet on wet marbling seems to be one of the most popular and fun ways beginners decorate. (And still is one of my favorite ways to decorate too!).
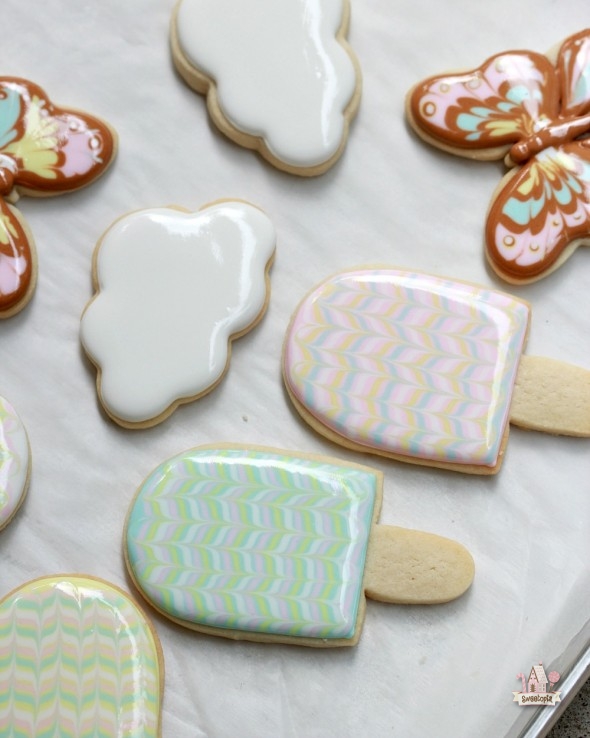
Last summer I chose somewhat of a summery theme (popsicles, clouds, butterflies) a simple and cute cutter (elephant) and a circle. I often chose a circle to teach cookie decorating as it's a great blank canvas to marble in different ways or write a message on etc. There's lots of creative freedom because the shape doesn't dictate what kind/color of icing or how the icing is applied.
I try to pick shapes that any kind of icing color would work with, as the more colors needed to decorate the more piping bags need to be prepared. (Granted one can use any color to decorate cookies one wants, but some students like to stick with colors that stereotypically match the shape. i.e. white for clouds.). This depends on the size of your class of course, or how much help you have. In my case I was preparing for 6 groups of 5 kids decorating, so 6 groups times 7 colours equals 42 piping bags. (More on that later). This past summer I was asked to do Joseph themed cookies, so there was less choice as the designs dictated 8 colours (click here for the post).
Making Cookies
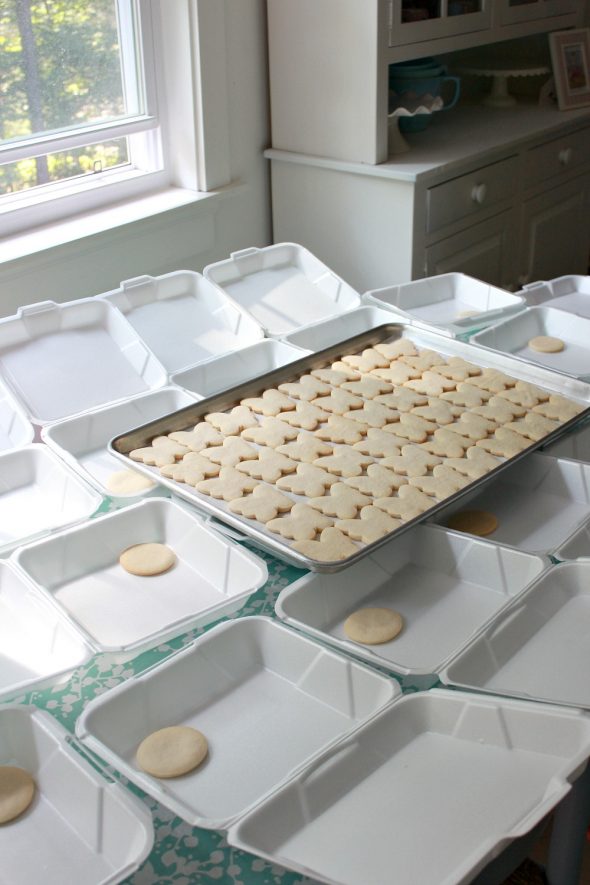
Two groups of approximately 23 kids, one morning group and one afternoon group, so about 50 kids times 5 cookies means making about 250 cookies. I always make at least 10 cookies extra of each design in case I snack on a few an accident happens, for my demonstrations and for volunteers helping at camp who also seem to want to try decorating their own cookies after the kids are done.
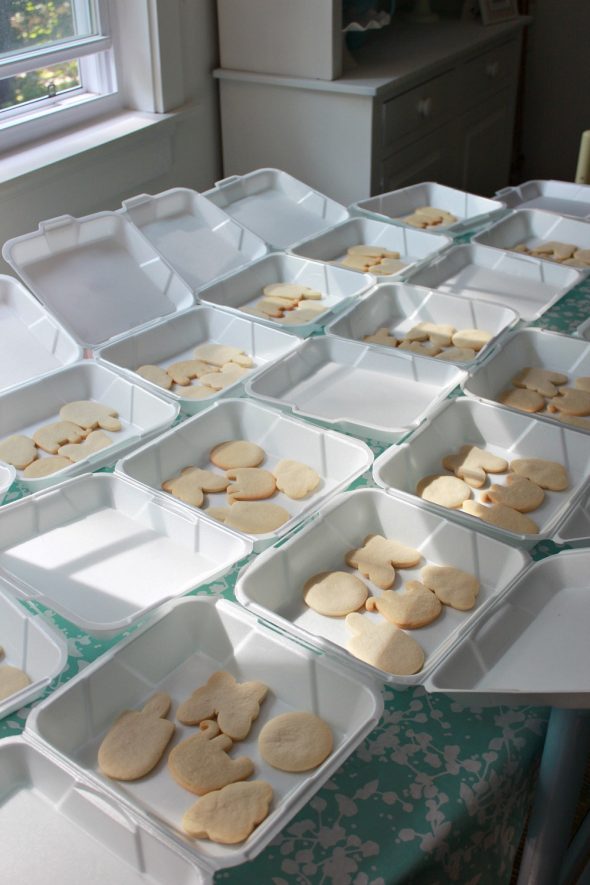
As I'm generally too busy right before camp starts to make over 250 cookies, I make the dough and bake the cookies ahead and freeze them. For a post on freezing and thawing undecorated cookies, click here. Most of the cookie cutters are from Cheap Cookie Cutters.com. Click on each word to find the link; popsicle, cloud, butterfly, elephant.
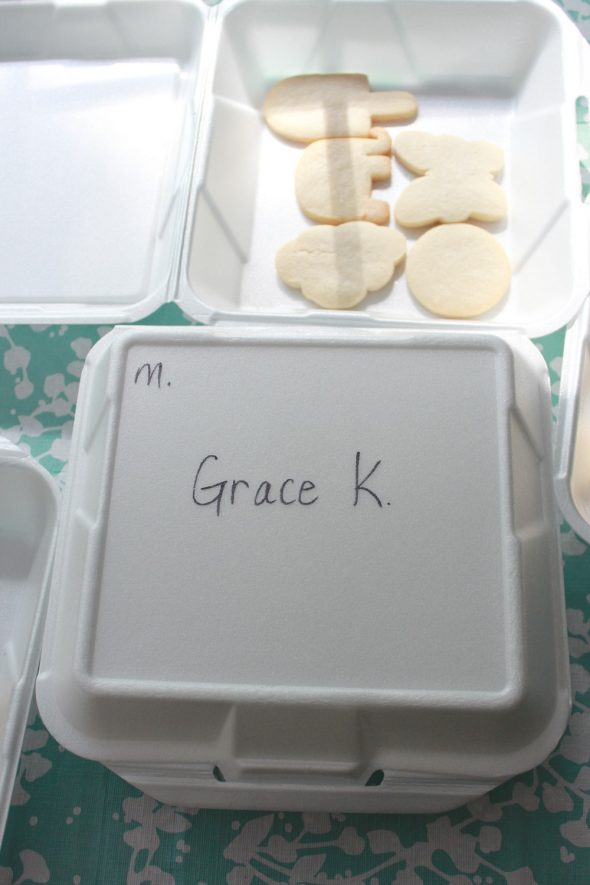
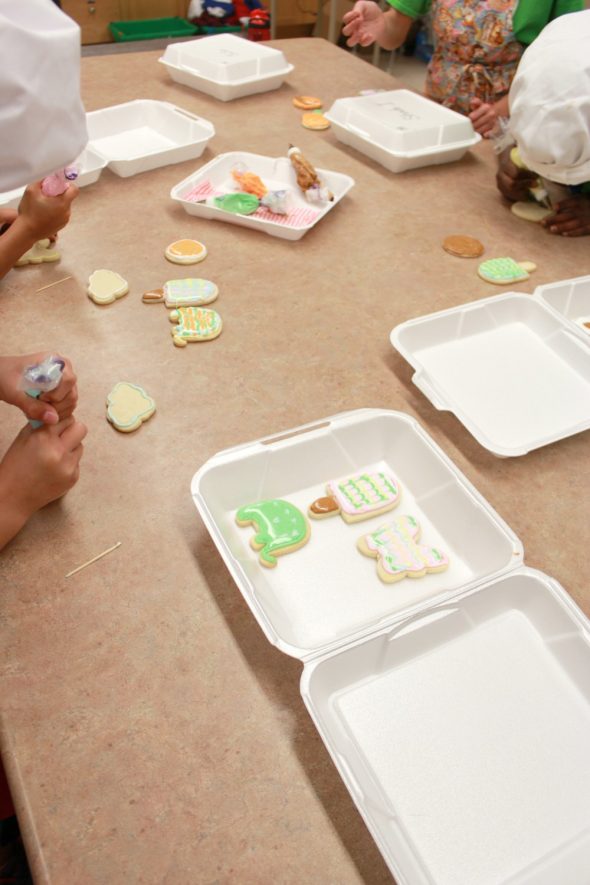
I used these take-out containers to distribute the cookies to the student. Each box was labelled with their name and an M for morning or A for afternoon class. That way handing out the cookies is quick and ensures that each student gets one of each cookie design.
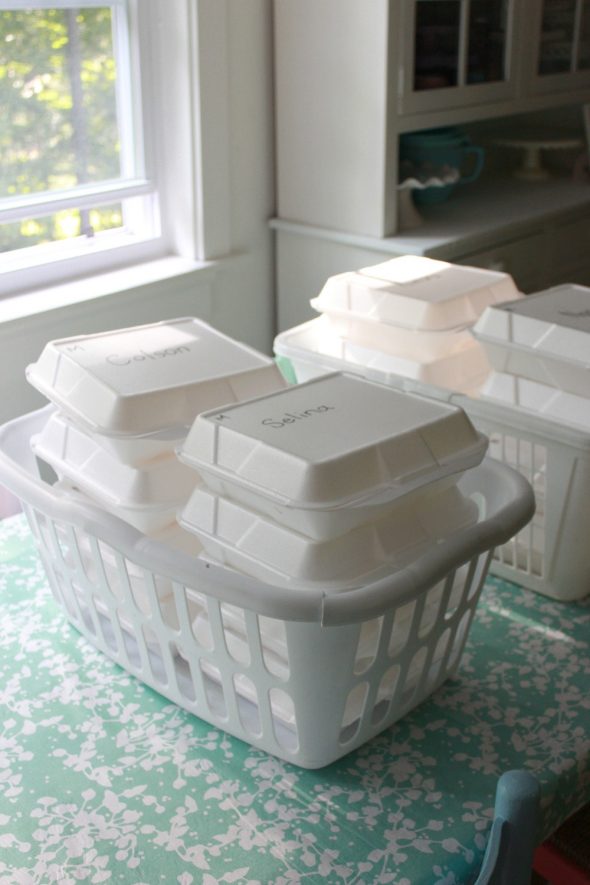
I brought the containers to the camp in laundry baskets. Just a note, if you're transporting the cookies, depending on how many are in the classes, this can get bulky and take up lots of room in your vehicle. This summer I brought all the cookies on baking trays and arranged them into the containers on site. I just made sure I arrived early to account for the extra preparation (Took me about 15-20 minutes).
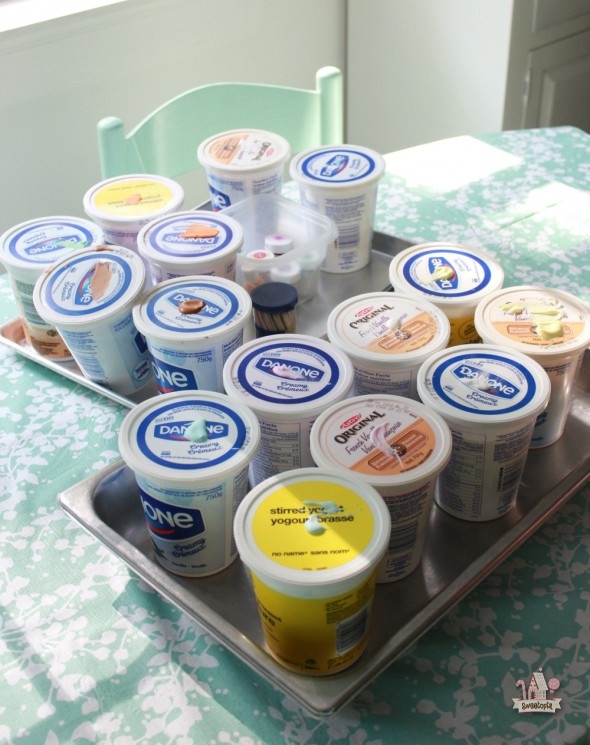
Icing and Filling Piping Bags
Bring extra icing for each icing color and leave some icing white in case you run out of a popular color and need to color more there. Bring the gel paste you'll need, toothpicks, extra piping bag ties, extra spoons and cloths.
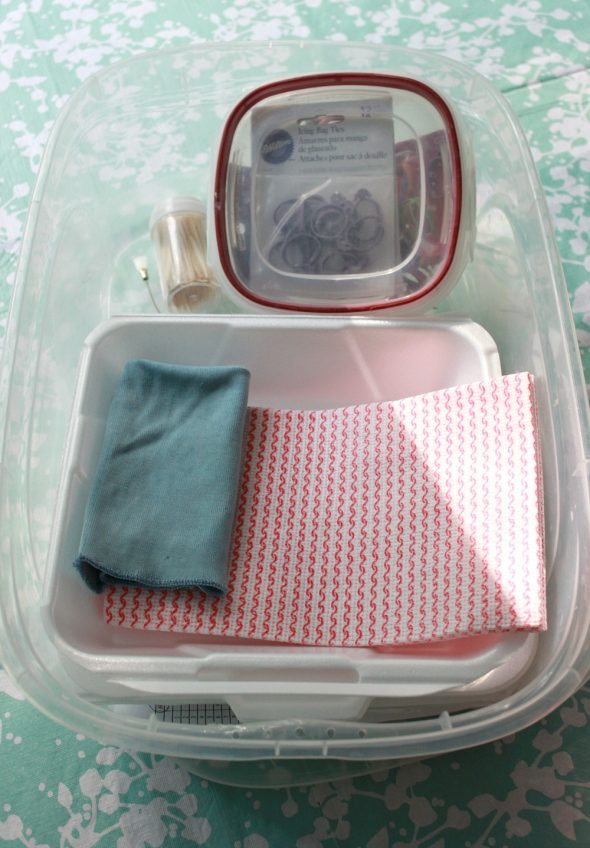
In my case there were volunteers helping with clean up, so I brought extra piping tip cleaning brushes as well.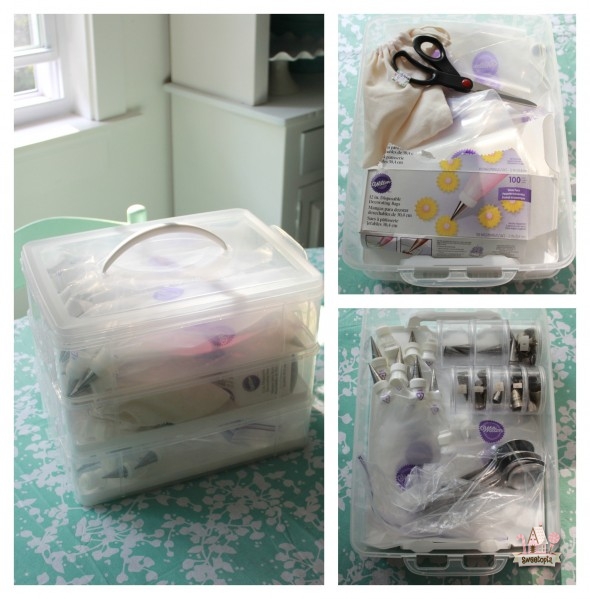
Make extra piping bags ready, fitted with couplers and tips, and also bring unprepared piping bags, scissors and couplers. It's always great to have extra!
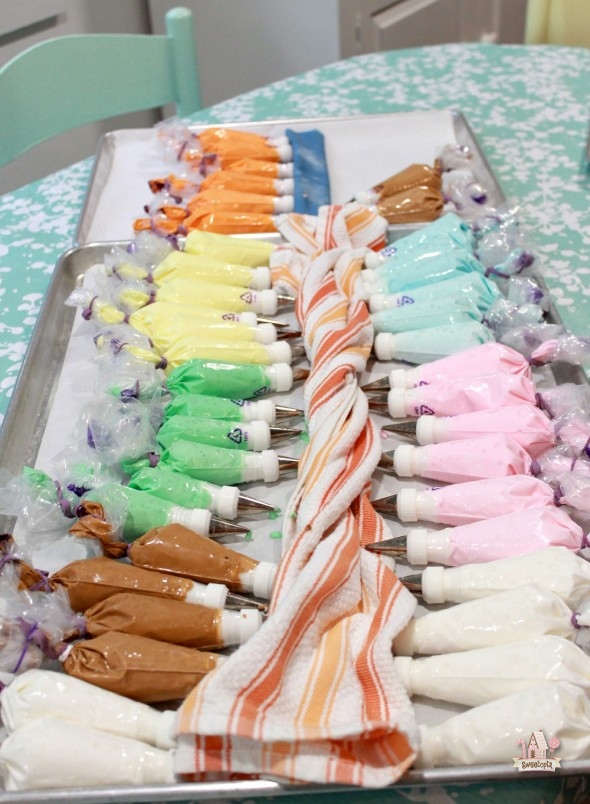
Last year I got up at 5:30 am and made all the piping bags ready before I left for camp. This year I found out if there were going to be volunteers there to help and just brought the icing in containers and 2 other volunteers and I prepared the piping bags ahead. (Yay! Should have thought to ask last year!). If you have more time and smaller classes, you could teach the kids how to fill the bags and do them together; we just didn't have the time and the classes were a bit large to do that.
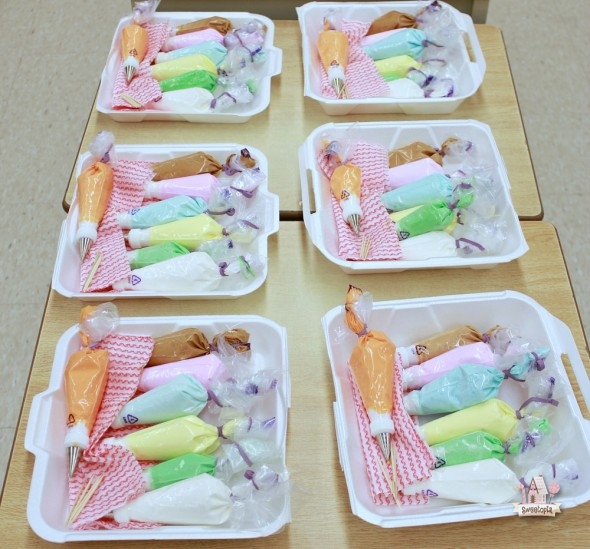
Lay one of each color piping bag on a tray (we used half of container for each station), along with a damp cloth and at least one toothpick per student.
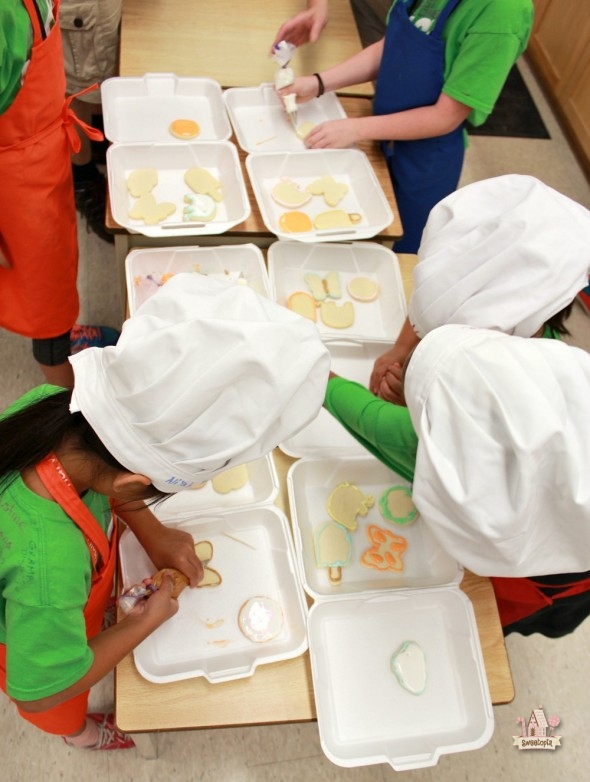
Demonstrate and have fun watching what kids create!
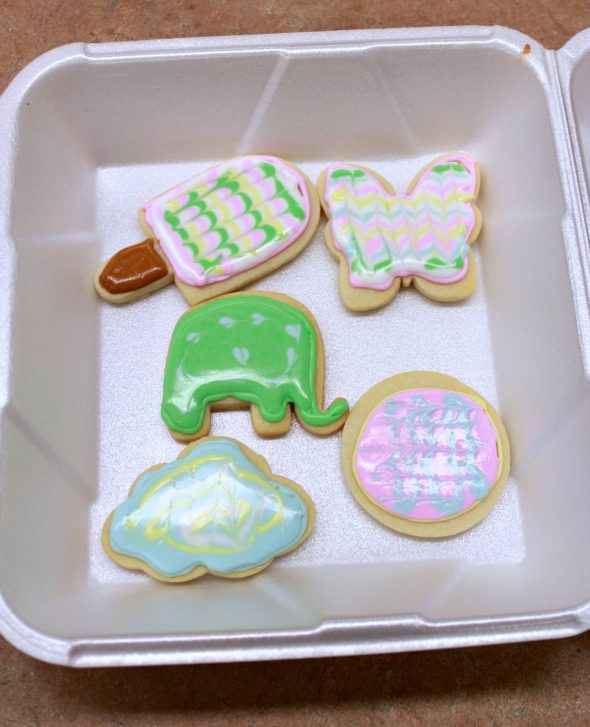
For another example of a camp cookie decorating class, Joseph themed Cookies, click here.
If you have any questions or tips you'd like to share, please feel free to comment below.
Happy decorating!
xo,
Marian
Kids Christmas Cookie Decorating Classes
Source: https://sweetopia.net/2016/08/teaching-cookie-decorating-classes-for-kids-preparation-tips/
Posted by: vasquezsubmis.blogspot.com

0 Response to "Kids Christmas Cookie Decorating Classes"
Post a Comment